
TRIP PLANNING · BRITISH COLUMBIA
Vancouver to Whistler: make the transfer once, then let Whistler do the work.
Use Vancouver as the gateway, not the ski base. For most first trips, take a direct transfer from YVR, stay where you can walk to lifts and dinner, and rent a car only when the itinerary gives it an actual job.
Gateway
Vancouver International Airport (YVR)
Best first base
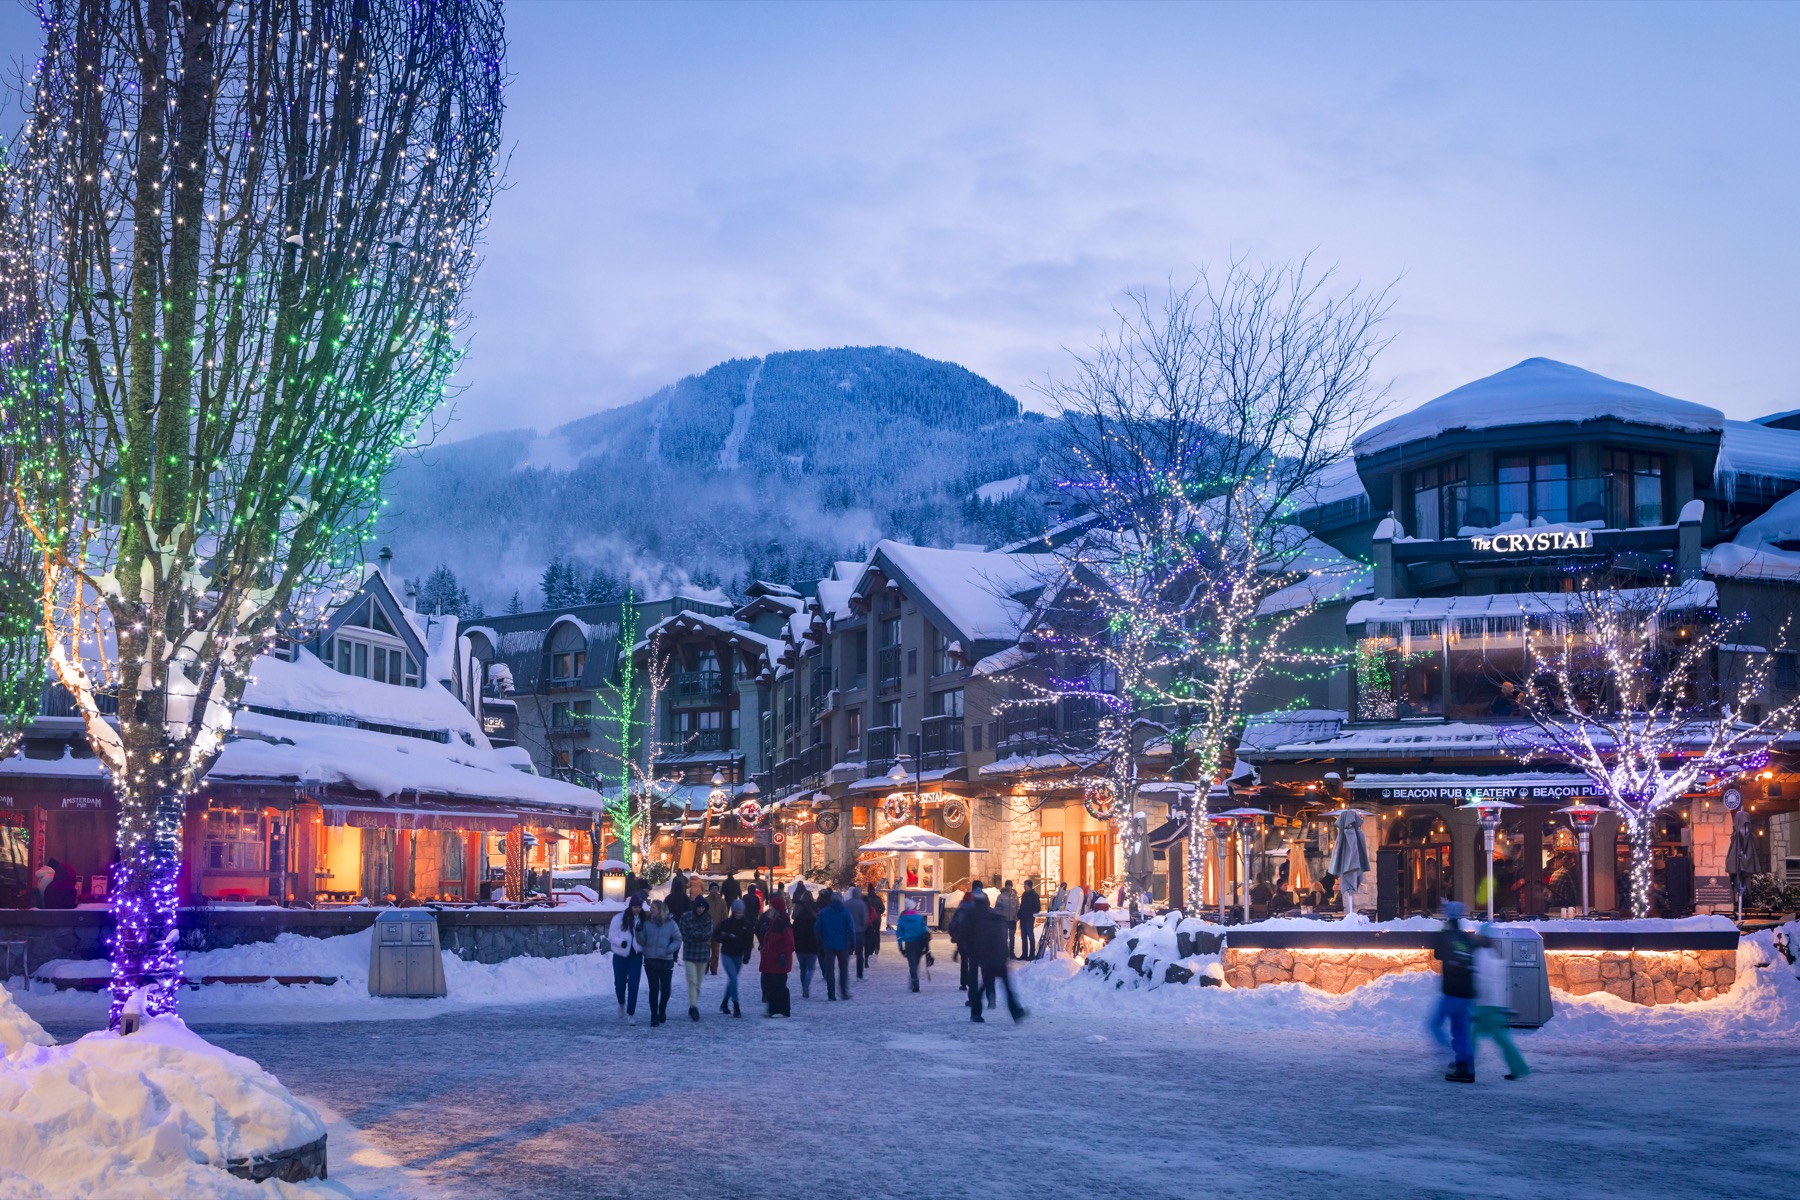
Whistler Village
Car decision
Usually unnecessary in Whistler
Pass fit
Epic Pass, Whistler Blackcomb Day Pass, EDGE Card if eligible
THE DECISION
Short answer
The useful itinerary crosses the Sea-to-Sky once, then lets Whistler do the work.
Whistler is roughly two hours from downtown Vancouver and commonly 2.5 to 3 hours from YVR by scheduled shuttle, depending on traffic, weather and road conditions. That is close enough to share one trip and far enough to make daily commuting a bad idea.
Give Vancouver its own city nights if you want them. Then move north, unpack once and build the ski week around the lifts.
Choose the base that solves the week.
Whistler Village
The easiest first-trip base. Both mountains, restaurants, rentals and most evening activity are within walking distance.
Upper Village / Blackcomb
Quieter, Blackcomb-first and still close enough to walk into the main Village.
Creekside
A real neighborhood with direct Whistler Mountain access and its own dining and lodging. Choose it for the quieter rhythm, not because it is universally faster.
Vancouver
Give it a night or two before or after skiing. Do not turn it into a daily Whistler commute.
BASE COMPARISON
Compare the ski week, not just the hotel.
The cheapest room is not always the cheapest ski week. Location determines how often you need a car, shuttle, bus or group decision just to get through the day.
| Base | Mountain access | Evening | Car need | Best fit |
|---|---|---|---|---|
| Whistler Village | Simplest access to both mountains | Most restaurants and energy | Very low | First visit, mixed groups |
| Upper Village | Blackcomb-first | Quieter, Village walkable | Very low | Families, quieter nights |
| Creekside | Direct Whistler Mountain access | More neighborhood feel | Low | Repeat visitors, Creekside fans |
| Vancouver | Two-plus hours away | Great city, wrong ski geography | High | Arrival/departure bookend |
Whistler Village
- Mountain access
- Simplest access to both mountains
- Evening
- Most restaurants and energy
- Car need
- Very low
- Best fit
- First visit, mixed groups
Upper Village
- Mountain access
- Blackcomb-first
- Evening
- Quieter, Village walkable
- Car need
- Very low
- Best fit
- Families, quieter nights
Creekside
- Mountain access
- Direct Whistler Mountain access
- Evening
- More neighborhood feel
- Car need
- Low
- Best fit
- Repeat visitors, Creekside fans
Vancouver
- Mountain access
- Two-plus hours away
- Evening
- Great city, wrong ski geography
- Car need
- High
- Best fit
- Arrival/departure bookend
GATEWAY LOGIC
Vancouver is the gateway. Whistler is the ski trip.
If you want Stanley Park, Granville Island, city restaurants or a night in Vancouver, give the city its own lodging block. Then move north and stay north.
Direct airport transportation makes that easy. YVR SkyLynx serves Whistler from the airport, including Creekside and the Gateway Loop, and Tourism Whistler lists scheduled shuttle options. One useful airport detail: leave real buffer between landing and the coach. YVR recommends roughly two hours before a SkyLynx departure.
Skis emerging from oversized baggage have never shown much respect for a tight itinerary.
THE CAR QUESTION
The rental car has to prove its case.
For a straightforward Whistler ski trip, my default is no car. Once you arrive, pedestrian lanes, buses, taxis, shuttles and gondolas handle most of the movement. Whistler's free Village shuttles include routes 4 and 5, while the broader local system adds winter service.
A rental starts making sense when you are staying outside practical transit range, adding Vancouver or other Sea-to-Sky stops, or traveling with a group whose luggage and timing genuinely justify it. Otherwise, it is easy to pay for a vehicle to drive from YVR and then pay again to leave it in a garage.
That is an expensive coat rack.
ROAD-TRIP PAYOFF
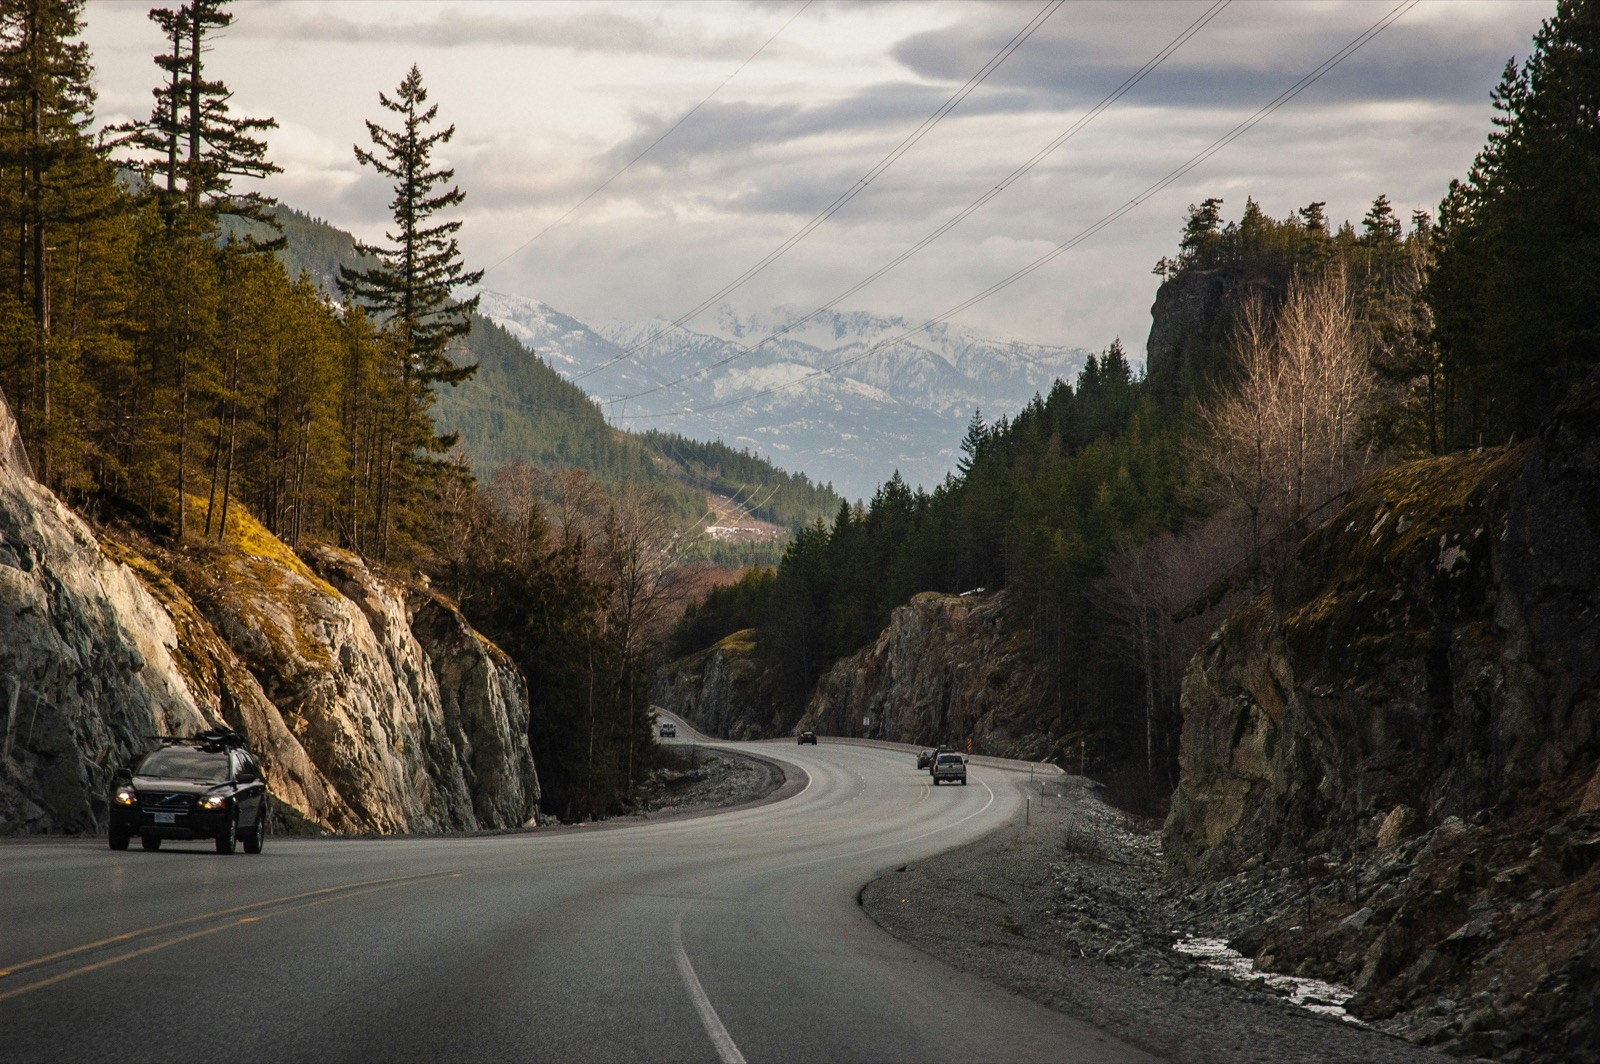
If you drive, make the Sea-to-Sky earn the rental car.
Highway 99 is one of the better reasons to choose the car. Just do not turn arrival day into a scavenger hunt. Pick one or two stops based on weather and time. The timing below is a PassTracks planning estimate, not an operator travel guarantee.
| Stop | Realistic add-on | Why stop |
|---|---|---|
| Porteau Cove | 15–25 min | Howe Sound, mountains and a leg stretch |
| Shannon Falls | 20–30 min | Big waterfall for very little walking |
| Tantalus Lookout | 5–10 min | Highest view-to-effort ratio |
| Sea to Sky Gondola | 1.5–3 hr | Turn arrival day into sightseeing |
| Britannia Mine Museum | 1.5–3 hr | Best bad-weather alternative |
Porteau Cove
- Time
- 15–25 min
- Why stop
- Howe Sound, mountains and a leg stretch
Shannon Falls
- Time
- 20–30 min
- Why stop
- Big waterfall for very little walking
Tantalus Lookout
- Time
- 5–10 min
- Why stop
- Highest view-to-effort ratio
Sea to Sky Gondola
- Time
- 1.5–3 hr
- Why stop
- Turn arrival day into sightseeing
Britannia Mine Museum
- Time
- 1.5–3 hr
- Why stop
- Best bad-weather alternative
CHOOSE ONE, MAYBE TWO
Match the stop to the day you actually have.
Porteau Cove: stop for the “Sea”
This is the quick ocean stop. Walk toward Howe Sound, look back at the mountains, and keep moving. BC Parks lists winter day use with limited facilities, so check conditions rather than assuming summer service.
Shannon Falls: easiest high-payoff stop
When clouds hide the mountain views, Shannon Falls gets more appealing. It is just off Highway 99 and asks very little walking for a substantial waterfall.
Tantalus Lookout: stop when the mountains are out
This is the photograph stop. The roadside viewpoint north of Squamish opens across the Tantalus Range. If visibility is poor, keep driving. A scenic overlook with no scenery is mostly a parking maneuver.
Sea to Sky Gondola: only with real time
This is not a roadside pullout. If you land early, visibility is excellent and sightseeing is deliberately part of arrival day, it can be worth the time. Check the current operating calendar first.
Britannia Mine Museum: weather-proof option
When Howe Sound is socked in, an indoor historical stop is a better use of two hours than waiting for clouds to cooperate. Confirm current admission and operating hours.
THE INSIDER RULE
Match the stop to the clock, not the bucket list.
- 10 minutes + clear sky
Tantalus Lookout - 20–30 minutes
Porteau Cove or Shannon Falls - Two hours + blue sky
Sea to Sky Gondola - Two hours + ugly weather
Britannia Mine Museum - After dark or actively snowing
Keep driving · DriveBC
Check DriveBC before leaving. There is no prize for seeing a scenic highway in darkness through road spray. If timing is bad, save the stop for the return to Vancouver.
ONE WINTER CATCH
Brandywine Falls is beautiful. Do not build the drive around it.
Brandywine shows up on nearly every Sea-to-Sky list, but winter access is less straightforward than those lists imply. BC Parks closes the park gate in the off-season, and winter access is on foot. The highway must remain clear.
That makes it a poor “we'll just pull in for 20 minutes” ski-trip stop unless you have checked current access immediately beforehand.
Save the easy version for another season.
WINTER DRIVING
AWD does not answer the tire question.
The useful question at the rental counter is not, “Is it an SUV?” It is, “What tires are actually on this vehicle?”
British Columbia requires compliant winter tires on designated routes. For the Sea-to-Sky, the posted requirement runs October 1 through March 31. A legal passenger-vehicle winter tire carries M+S or the three-peak mountain-snowflake symbol and has at least 3.5 mm of tread across the tire. The province recommends the mountain-snowflake standard for stronger winter traction.
For Highway 99 in active winter weather, verify the tires on the exact rental before leaving YVR. AWD helps you move. Tires help you stop. I care more about the second one.
WHERE TO STAY
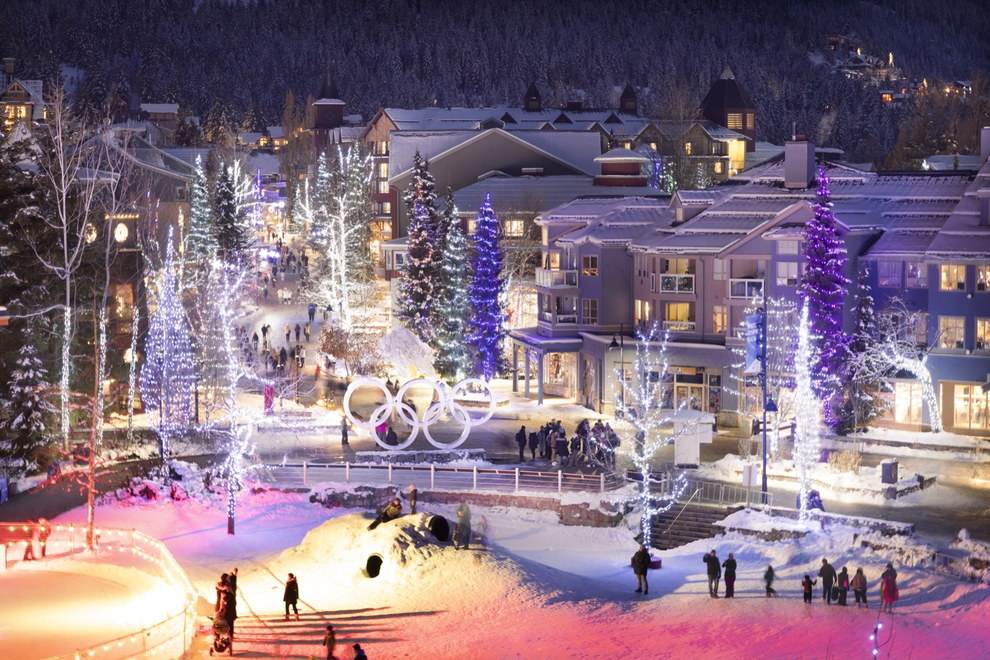
Whistler Village is expensive convenience. On a first trip, that can be money well spent.
A central Village hotel solves several problems at once. You can walk to the lifts. You can walk to dinner. People can split up without coordinating vehicles. Someone can quit early without stranding the rest of the group.
Those conveniences sound minor before the trip. By Day 4, they are the trip. For a first visit, I would start the lodging search here.
Upper Village buys quiet without giving up Whistler.
Upper Village works for people who want immediate Blackcomb access and less of the main Village's energy without becoming isolated from it. Tourism Whistler places it roughly a five-minute walk from the main Village. For families and Blackcomb-focused skiers, it is a strong compromise.
Creekside is a choice, not a shortcut.
Creekside was Whistler Mountain's original base and still feels like its own neighborhood. It has restaurants, lodging, services and direct Whistler Mountain access. If the day is Blackcomb-focused or the evening is in the main Village, it adds another connection. Choose it for the place, not the map.
PASS PLANNING
Check lift access before you lock the trip.
Before booking nonrefundable dates or lodging, figure out what will actually get you onto Whistler Blackcomb. For 2026/27, restrictions vary by product. Some Epic, Whistler Blackcomb Day Pass and EDGE Card products have restricted dates, so the calendar needs to work before the hotel becomes nonrefundable.
That makes the order simple:
First identify the lift-access product that fits the skier and check the dates it excludes. Then choose the ski week. Then book the place to sleep.
Epic Mountain Rewards can still affect the lodging math after that. Discounts at participating Whistler properties may change the comparison, but they should not determine the trip before the lift-access calendar works.
A FIRST-TRIP PLAN
Five nights is enough to make the trip feel like Whistler, not transit.
Fly into YVR, transfer directly to Whistler, and stay in the main Village or Upper Village unless Creekside is a deliberate choice.
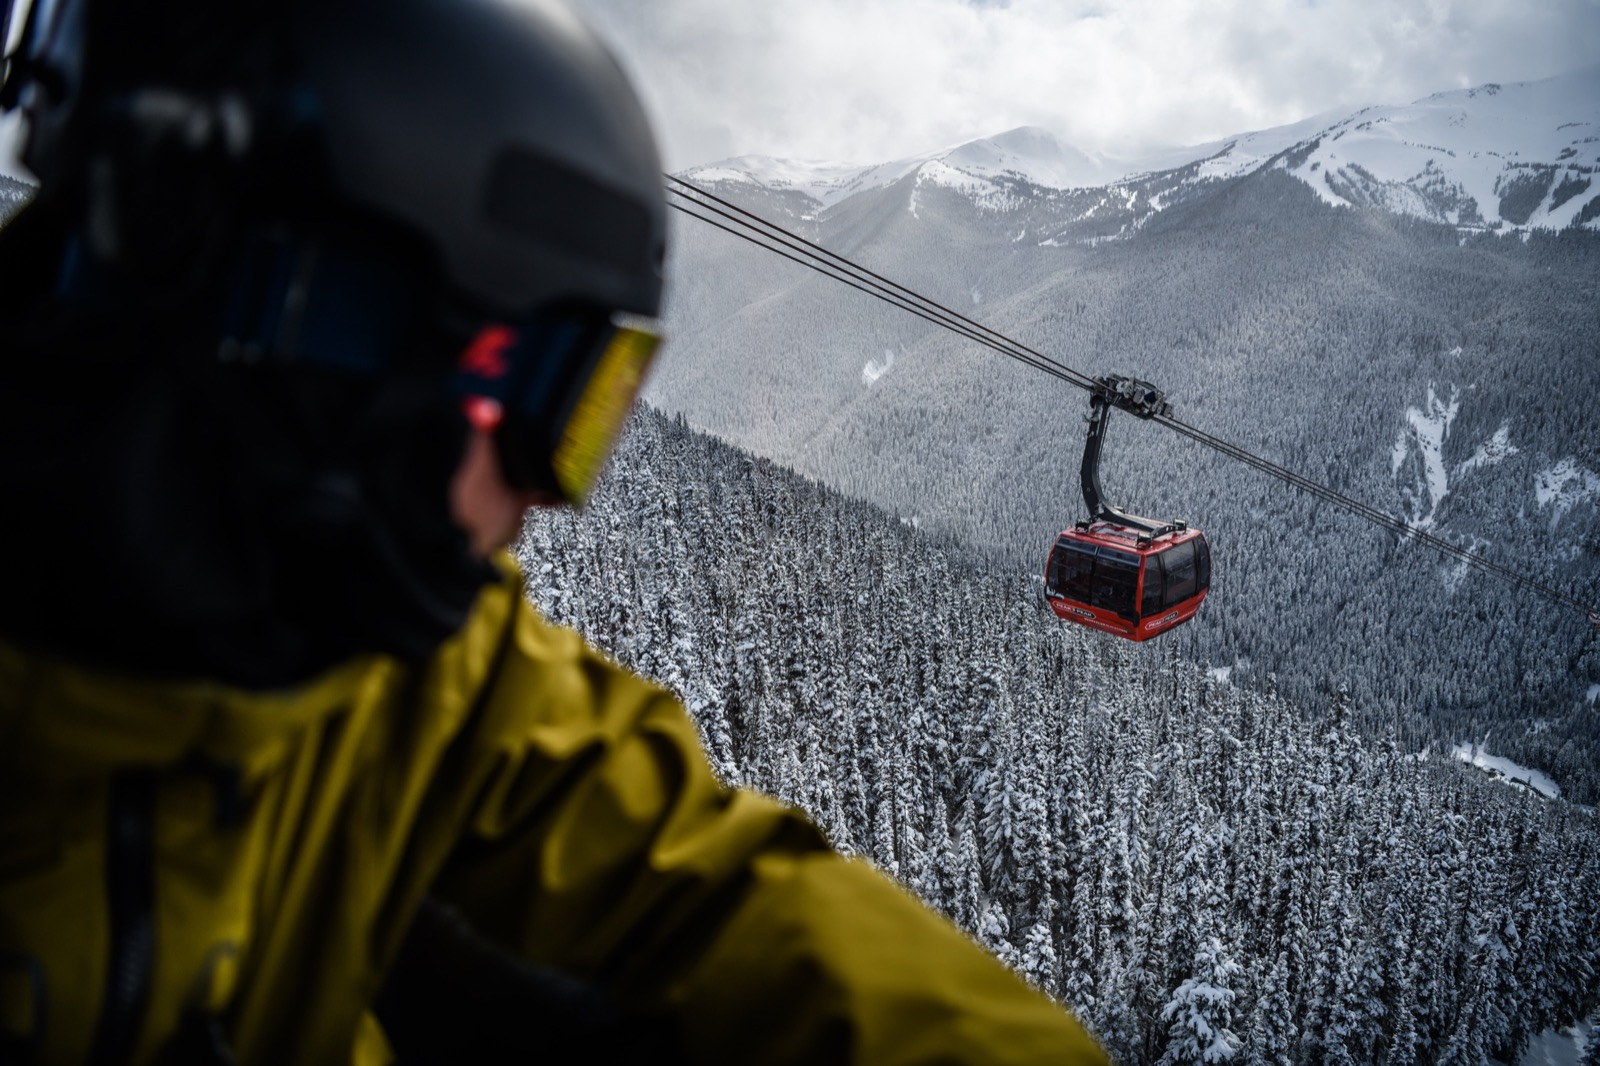
Ski whichever mountain makes sense that morning. Use Peak 2 Peak when it improves the day rather than treating it as a required daily crossing. If Vancouver matters, add the city before or after the Whistler stay instead of mixing it into ski mornings.
One 2026/27 detail is worth checking: Whistler Blackcomb says British Columbia's permanent daylight-saving-time system changes early-season light, with most valley and alpine lifts planned for 9:00 a.m. to 3:30 p.m. from opening day through January 15. Treat those as planned hours and check the current operating page before the trip.
WORTH PROTECTING TIME FOR
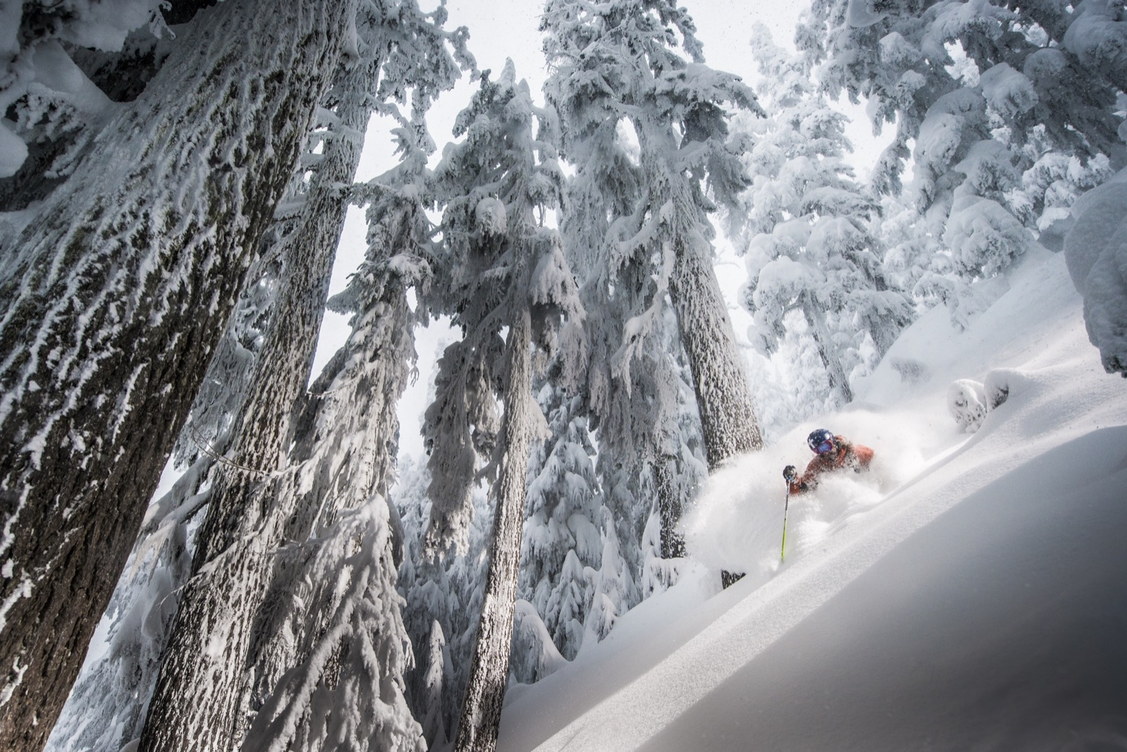
A few Whistler things I would actually plan around.
Crystal Hut waffle
If Crystal Hut is operating, visibility is good and you are skiing Blackcomb, stop. The waffle is tradition. The panorama is why the weather matters. Check current mountain dining hours first.
Lost Lake, properly
In winter, Lost Lake becomes a ticketed Nordic skiing and snowshoeing network. During winter operations the trails are not ordinary walking, running or dog routes.
Creekbread
If the ski day already ends in Creekside, stay for dinner. That is a better reason to experience the neighborhood than creating a transportation mission from the main Village.
Dusty's when the room is alive
Dusty's works best in context: ski out at Creekside, take off the boots and stay awhile. Its official page currently lists a seasonal closure and a November return, so verify winter hours.
COMMON PLANNING MISTAKES
The mistakes that make a Whistler trip harder than it needs to be.
Renting a car solely for the airport transfer.
Staying in Vancouver and attempting a daily Whistler ski commute.
Assuming Creekside is fastest to all Whistler Blackcomb terrain.
Assuming AWD means the rental is properly equipped for winter.
Trying to collect every Sea-to-Sky stop on arrival day.
Ignoring parking, ski storage and walking distance when comparing hotels.
Buying a restricted lift-access product before checking the actual ski dates.
MAKE THE NEXT DECISION
Turn the gateway plan into a bookable trip.
Whistler Village, Creekside or Upper Village?
Choose the base that matches the mountain access and evening you actually want.
Read the lodging decision guide →Whistler transfer or rental car?
Find out whether the car will improve the trip or spend the week in a paid garage.
Read the transportation decision guide →PASS DECISIONS
Check the lift-pass calendar before you book the trip.
Use the PassTracks pass finder, comparison database and 2026/27 price-and-restriction research before committing to nonrefundable travel dates or lodging. Find the lift-access product that fits, check the dates it excludes, then build the ski week around dates you can actually use.
The pass should fit the trip. But the calendar has to work before either one becomes nonrefundable.